
In this section, you will initialize and deploy the Terraform IaC in the distributed-application/kubernetes-config directory of the repository you downloaded.
NOTE:
You must replace <your_edge_city> with the same value you used in the previous section when you deployed the EKS cluster.
Step 1 – Entering the kubernetes-config directory
cd kubernetes-config
Step 2 – Initializing Terraform providers/modules in this directory
The terraform init command will download and configure the specific provider versions and modules specified in the IaC in this directory:
terraform init
Step 3 – Starting the deployment with Terraform
Use the terraform apply command as follows:
terraform apply -var=edge_city=<your_edge_city> -auto-approve
NOTE:
Remember to use the same value for <your_edge_city> that you used previously.
Here’s an example of what you should see:
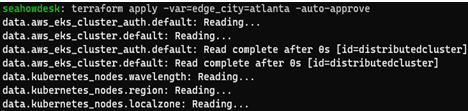
Figure 13.10 – Applying Terraform IaC for kubernetes-config
Step 4 – Copying the output URLs
When the previous terraform apply command is finished, you should see an output that looks like this:

Figure 13.11 – URL output by terraform apply in kubernetes-config
Save these values. They will be needed in the next section.
Testing the application from multiple sources
Assuming the Terraform IaC you applied in the previous sections deployed without any problems, you will now be able to connect to the test application from three different entry points. One entry point is in AWS Wavelength, one is in an AWS Local Zone, and one is in the parent AWS Region.
In this section, you will connect to all three entry points using a desktop/laptop on your home Wi-Fi or similar standard internet connection. Then, you will connect to the same three URLs from a mobile device that is on the appropriate carrier network for the AWS Wavelength Zone in question.
Checking the user experience from your desktop/laptop
From a desktop connected to the internet, ping all three nodes, and note the RTT in milliseconds:
ping 15.181.83.26 -c 2
ping 18.234.233.190 -c 2
ping 155.146.49.82 -c 2
Here’s an example of what you should see:
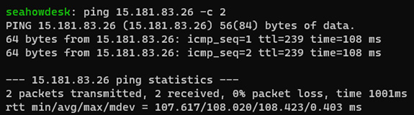
Figure 13.12 – Pinging the IP of the entry point in the AWS parent region
Now, visit all three URLs in a web browser, again from your desktop/laptop on a standard internet connection. You should see the following page:
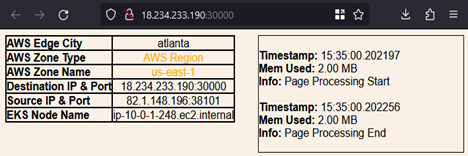
Figure 13.13 – Viewing the entry point in the AWS parent region from a desktop/laptop
The page will show some information about where you have connected to and where your connection originated:

Figure 13.14 – Viewing the entry point in the AWS Local Zone from a desktop/laptop
However, when you attempt to visit the URL for the AWS Wavelength Zone, the connection will time out:
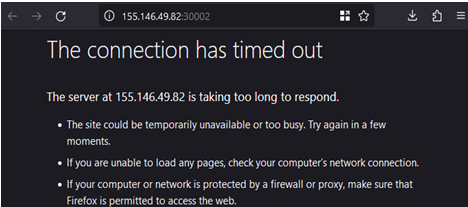
Figure 13.15 – Timeout when connecting to AWS Wavelength from a desktop/laptop